 Okay. For all of those looking to make some rag jewelry, here you go.
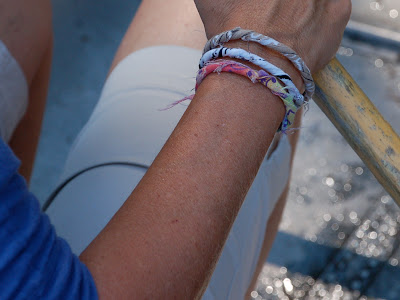
 First of all, I wanted to show you where this idea stemmed from. This is a photo from TOAST. A super cool catalog. With super cool photography. I, of course, fell in love with her bracelets.
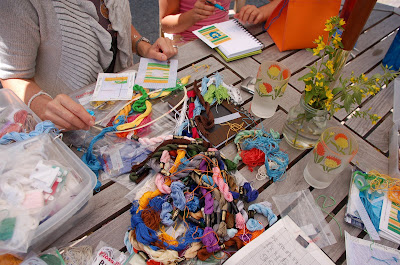
 And then, some girls at the pool where making them. And one sweet girl gave me a whole bunch of bandannas and told us to cut what we want.
So, here is what I learned as we went along.
First of all, bandannas probably work best. Because the pattern is on both sides. But I don't see any reason why a light weight fabric wouldn't work, also.
 Cut your bandanna in a strip. About 1 1/2 inches wide. And put that rotary cutter down. No perfect cuts here. Just use scissors and make sure you cut it all "choppy". (It will fray better.) Kids do a great job at this. Just don't give them your sharp ginghers.
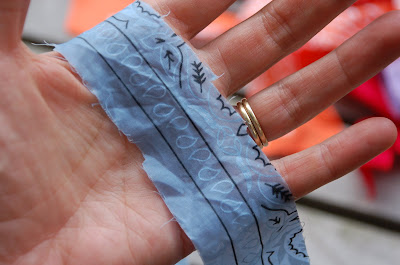 Then, get the strip wet. I lied to my children and told them that they work best if you use a natural body of water. A lake. A river. A creek. An ocean. A pool. (Not natural? Really?)
 Cut your bandanna in a strip. About 1 1/2 inches wide. And put that rotary cutter down. No perfect cuts here. Just use scissors and make sure you cut it all "choppy". (It will fray better.) Kids do a great job at this. Just don't give them your sharp ginghers.
  Then, get the strip wet. I lied to my children and told them that they work best if you use a natural body of water. A lake. A river. A creek. An ocean. A pool. (Not natural? Really?)
Anything but the kitchen sink. It just made it seem like a better summer project if you make it outside. (I got this one wet in the kitchen sink.)
 And then, twist. It works really great if you put one end in your mouth. And hold it with your teeth. And then hold the other end, and start twisting. Not too tight, or it will curl. And not too loose, or it will lay too flat.
 And then tie it on the body part of choice. Wrist, ankle, or neck. I am sticking to my wrist, but Libby now has every spot covered. DO NOT TIE TOO TIGHT. They shrink a little when they dry.
 Then, cut the excess fabric from the knot, and let the fraying begin!
 And then, twist. It works really great if you put one end in your mouth. And hold it with your teeth. And then hold the other end, and start twisting. Not too tight, or it will curl. And not too loose, or it will lay too flat.
  And then tie it on the body part of choice. Wrist, ankle, or neck. I am sticking to my wrist, but Libby now has every spot covered. DO NOT TIE TOO TIGHT. They shrink a little when they dry.
 Then, cut the excess fabric from the knot, and let the fraying begin!
I can't wait to see if this one will fray. You know. Since I used tap water. :)
Enjoy!
(For the top photo, Libby wrapped one strip twice.)
- Wednesday, July 30, 2008
- 296 Comments


